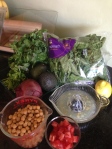
It’s food prep time again folks!
I have been slacking in the food prep department as of late, but I’m back on track this week for sure. I know how important it is to do my food prep but on the weekends when I’m running around like a crazy person I most definitely struggle getting healthy meals on the table during the week. Today is the first day in a several weeks that I’ve been able to sleep in and wake up knowing I’m doing some major food prepping; and I LOVE IT!
I’ve had a breakthrough this week as I’ve been ordering my herbs for the summer season and with that I realized I had a ton of pesto that I made last year that I needed to use up. So this week is my Pesto Edition. Lots of fun stuff using up some of the pesto that I’ve had stored in my freezer all winter long.
First lets start with the pesto since it’s the star ingredient in this weeks Food Prep series.
My Italian roots have made sure that I love Pesto and that I have it in my freezer at ALL TIMES!
Basil Pesto
.")
English: Basil leaves (Ocimum basilicum). (Photo credit: Wikipedia)
- 3 cups packed fresh basil leaves
- 1/4 cup pine nuts
- 4 garlic cloves
- pinch of salt
- 1/2 tablespoons extra virgin olive oil, plus more if needed to make smooth paste
- 1/3 cup Parmigiano-Reggiano Cheese, grated
Put basil leaves, pine nuts, garlic clove and salt in a food processor or blender. Pulse a few times until leaves are uniform in texture and chopped. Turn on the food processor and stream the olive oil until a smooth paste forms and comes together. If you need additional olive oil add slowly until you get the right consistency. Add cheese and pulse a few more times until fully incorporated.
From here since I usually put 2-3 tablespoons of pesto into a ziplock back and freeze. Pesto freezes so well there really isn’t any reason not to use up the extra fresh basil anytime of year whether it’s from the summer bumper crop or if you purchase a large bunch mid winter. I never, ever waste fresh basil.
Pesto has a strong flavor so a little goes a long way. Here are some of the ways I like to use my fresh Basil Pesto in addition to the recipes in this post.
I like to add it to cooked pasta, toss it with steamed red potatoes, to dress fresh steamed green beans, add it to olive oil and vinegar as an easy way to make pasta salad and lightly drizzle it over steamed or baked salmon.
I had some major inspiration attending the Philly Farm and Food Fest last week especially from one local vendor that does fresh, organic, non-gmo hummus. The Lancaster Hummus Co. offered up some really unusual flavors of hummus. They had samples of every flavor they offer on their website including my favorites from the day Chipotle Black Bean, Pumpkin Butter & Lemon Kale. They offer up 8 unique flavors, so if you don’t like making your own homemade hummus, The Lancaster Hummus Co is a great alternative to a quality hummus.
Since I love hummus and had taken some pesto out for a few other recipes this week, I opted to make a Pesto Hummus.
Pesto Hummus
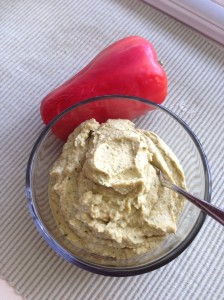
Pesto Hummus
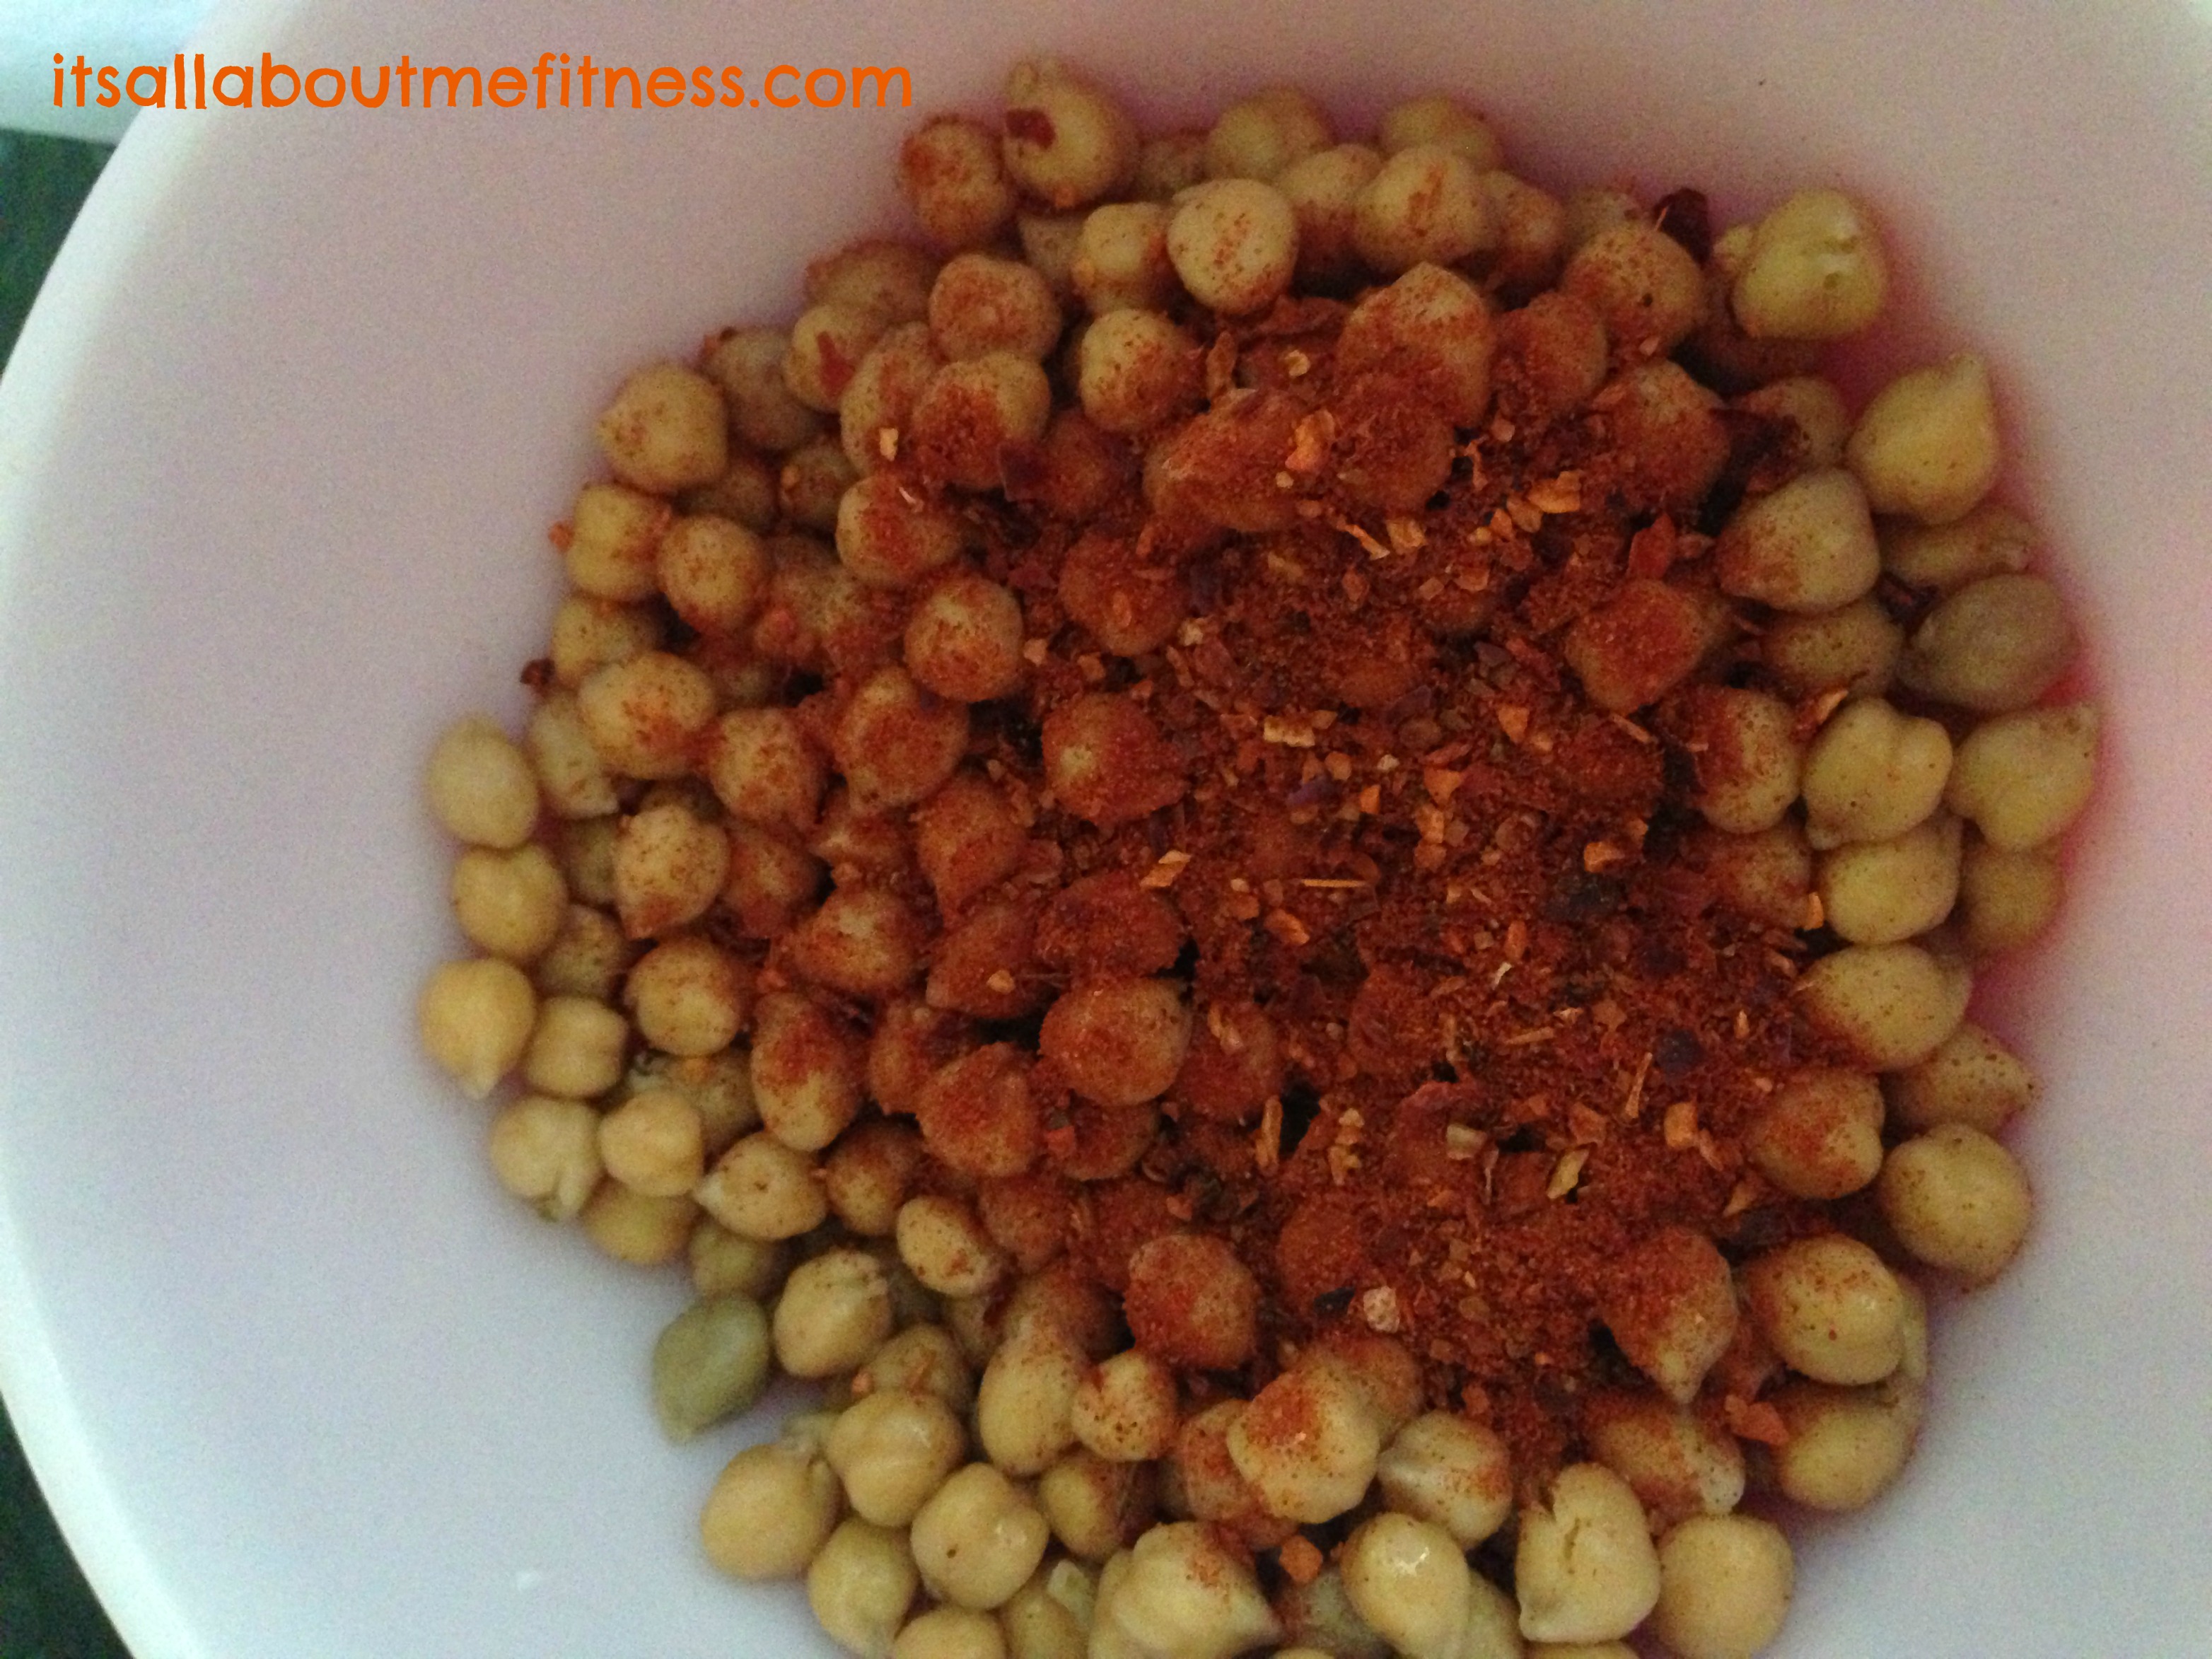
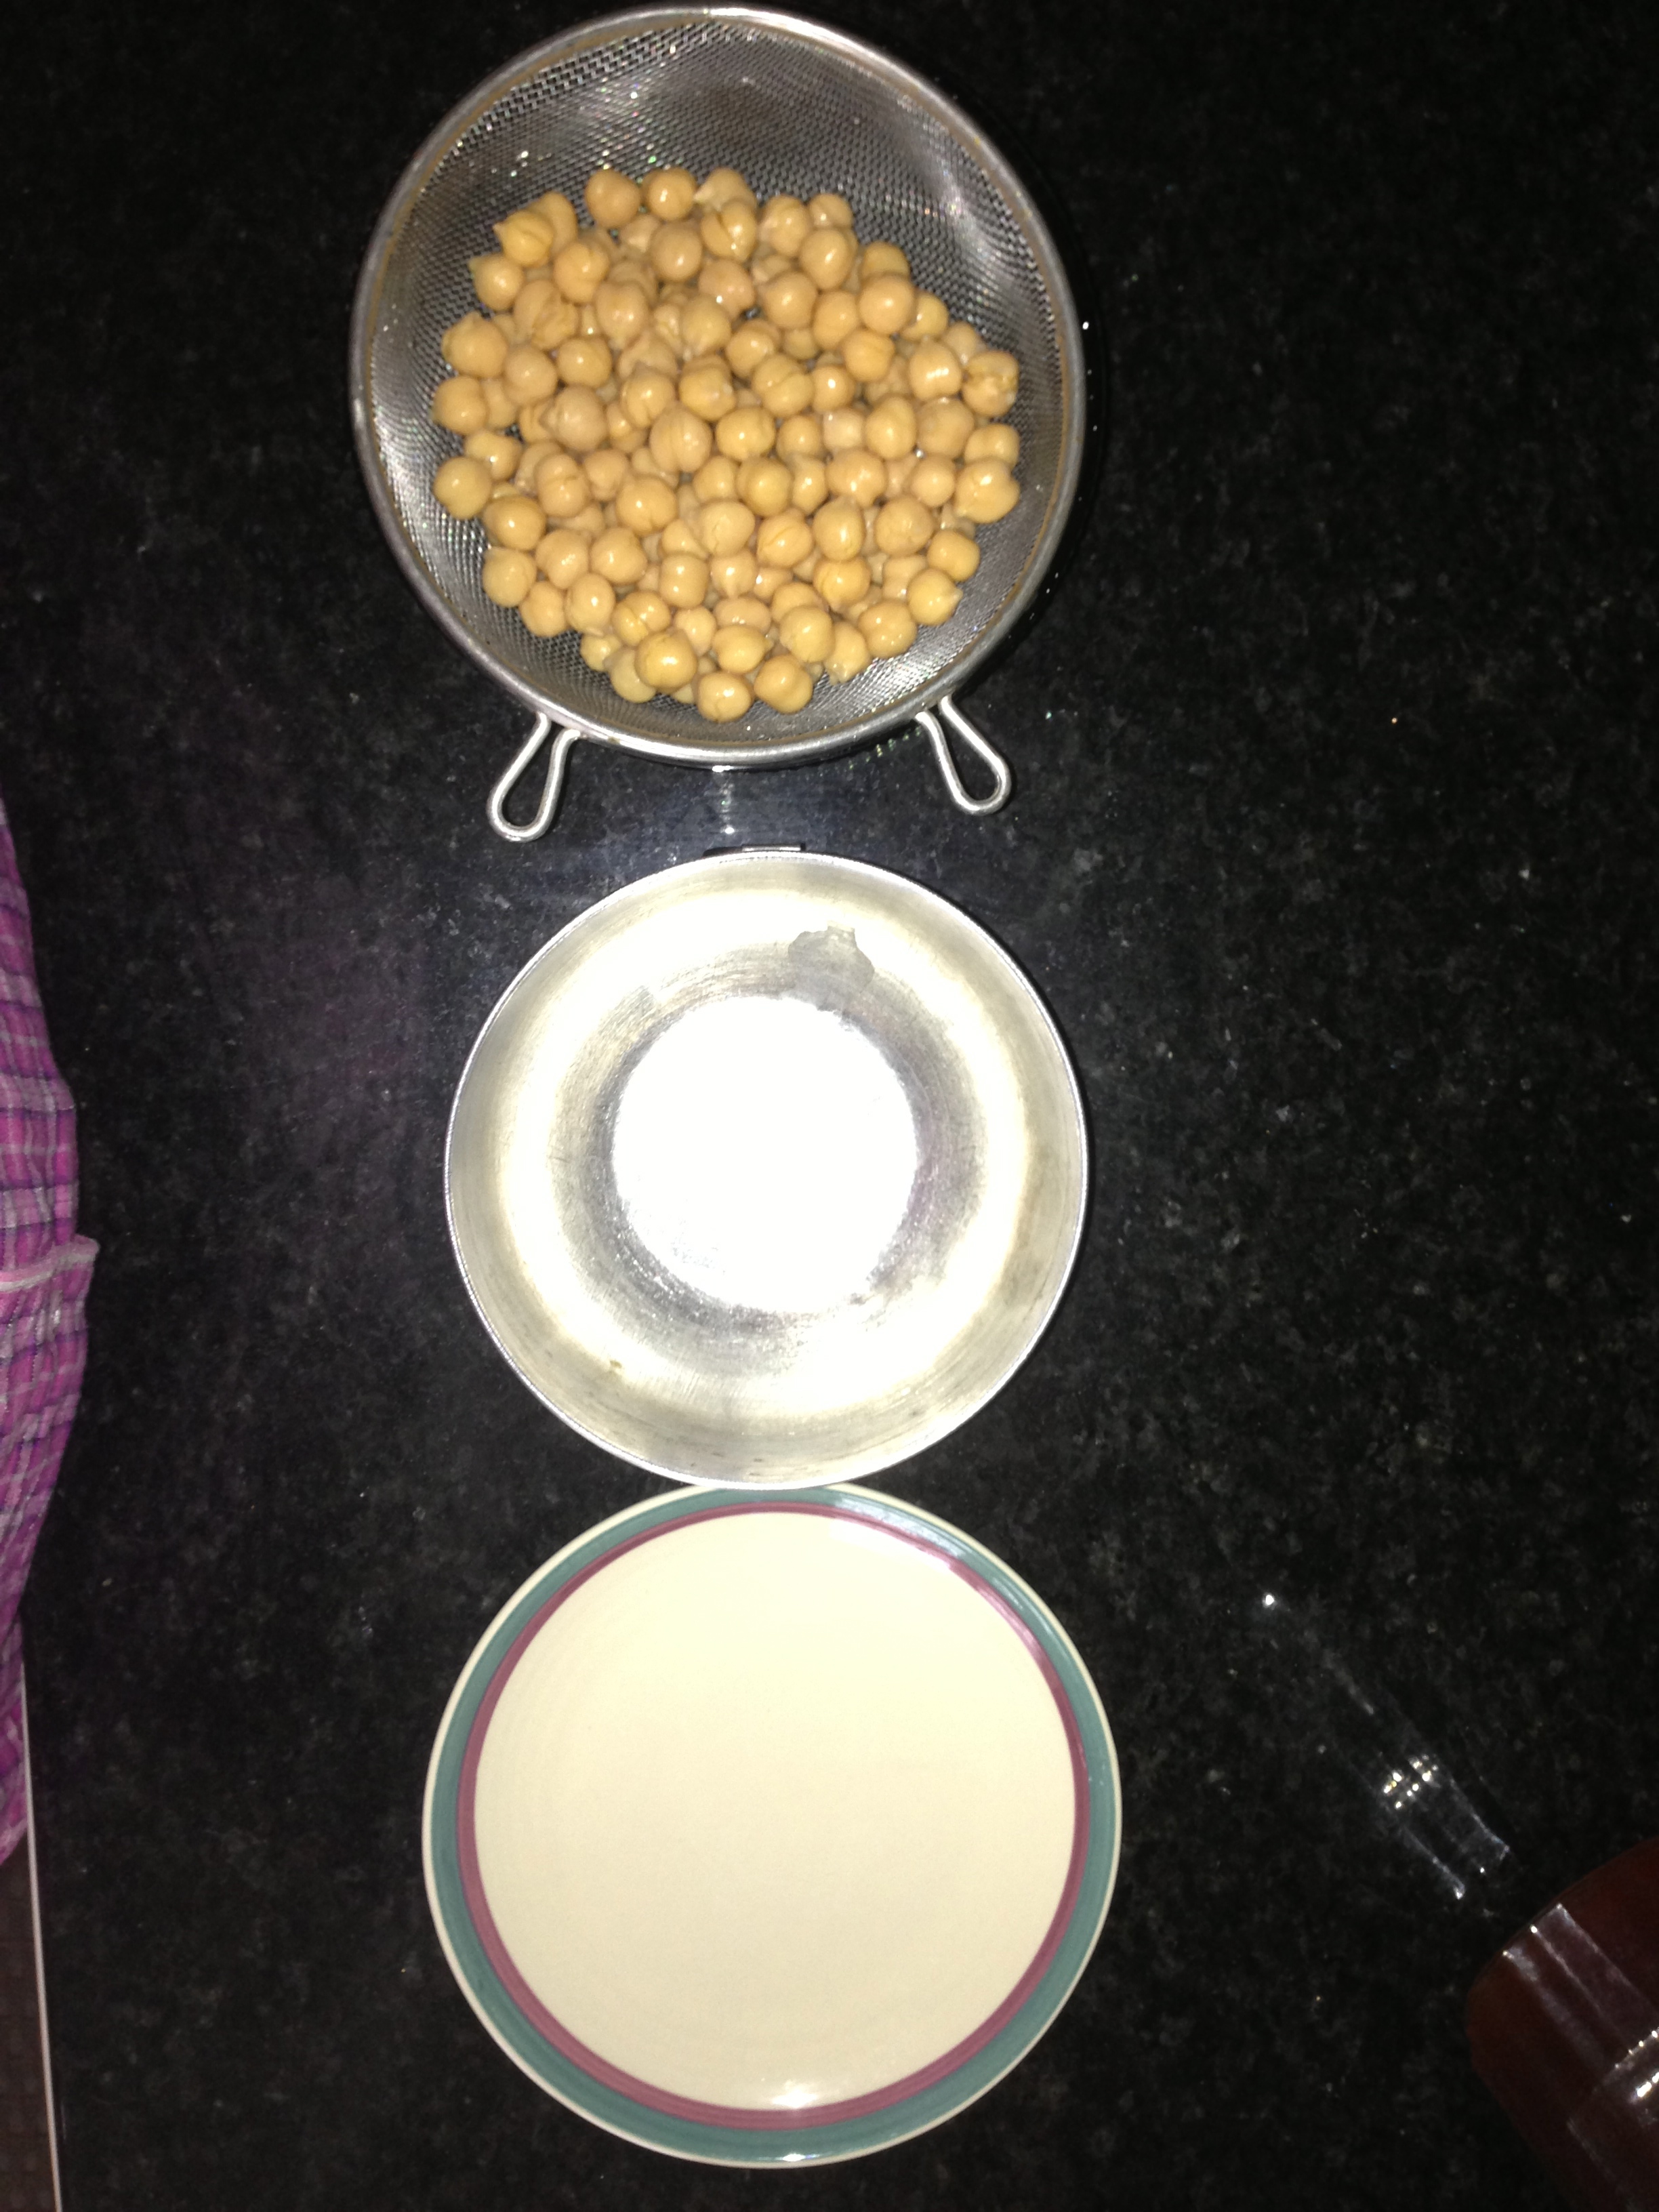
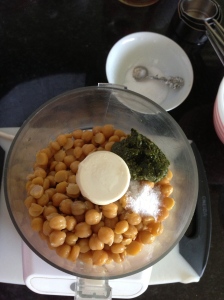
- 2 cups chick peas, skins removed
- 1 tablespoon Basil Pesto (see recipe above)
- 1/2 teaspoon of salt
- 1 tablespoon olive oil
- 1/4 cup of water
I cannot stress enough the method to smooth creamy hummus is to remove the skins. It seems like a tedious task, but like everything else, the extra work pays off. The texture of this hummus from removing the skins just cannot be compared to any other.
Pesto Hummus
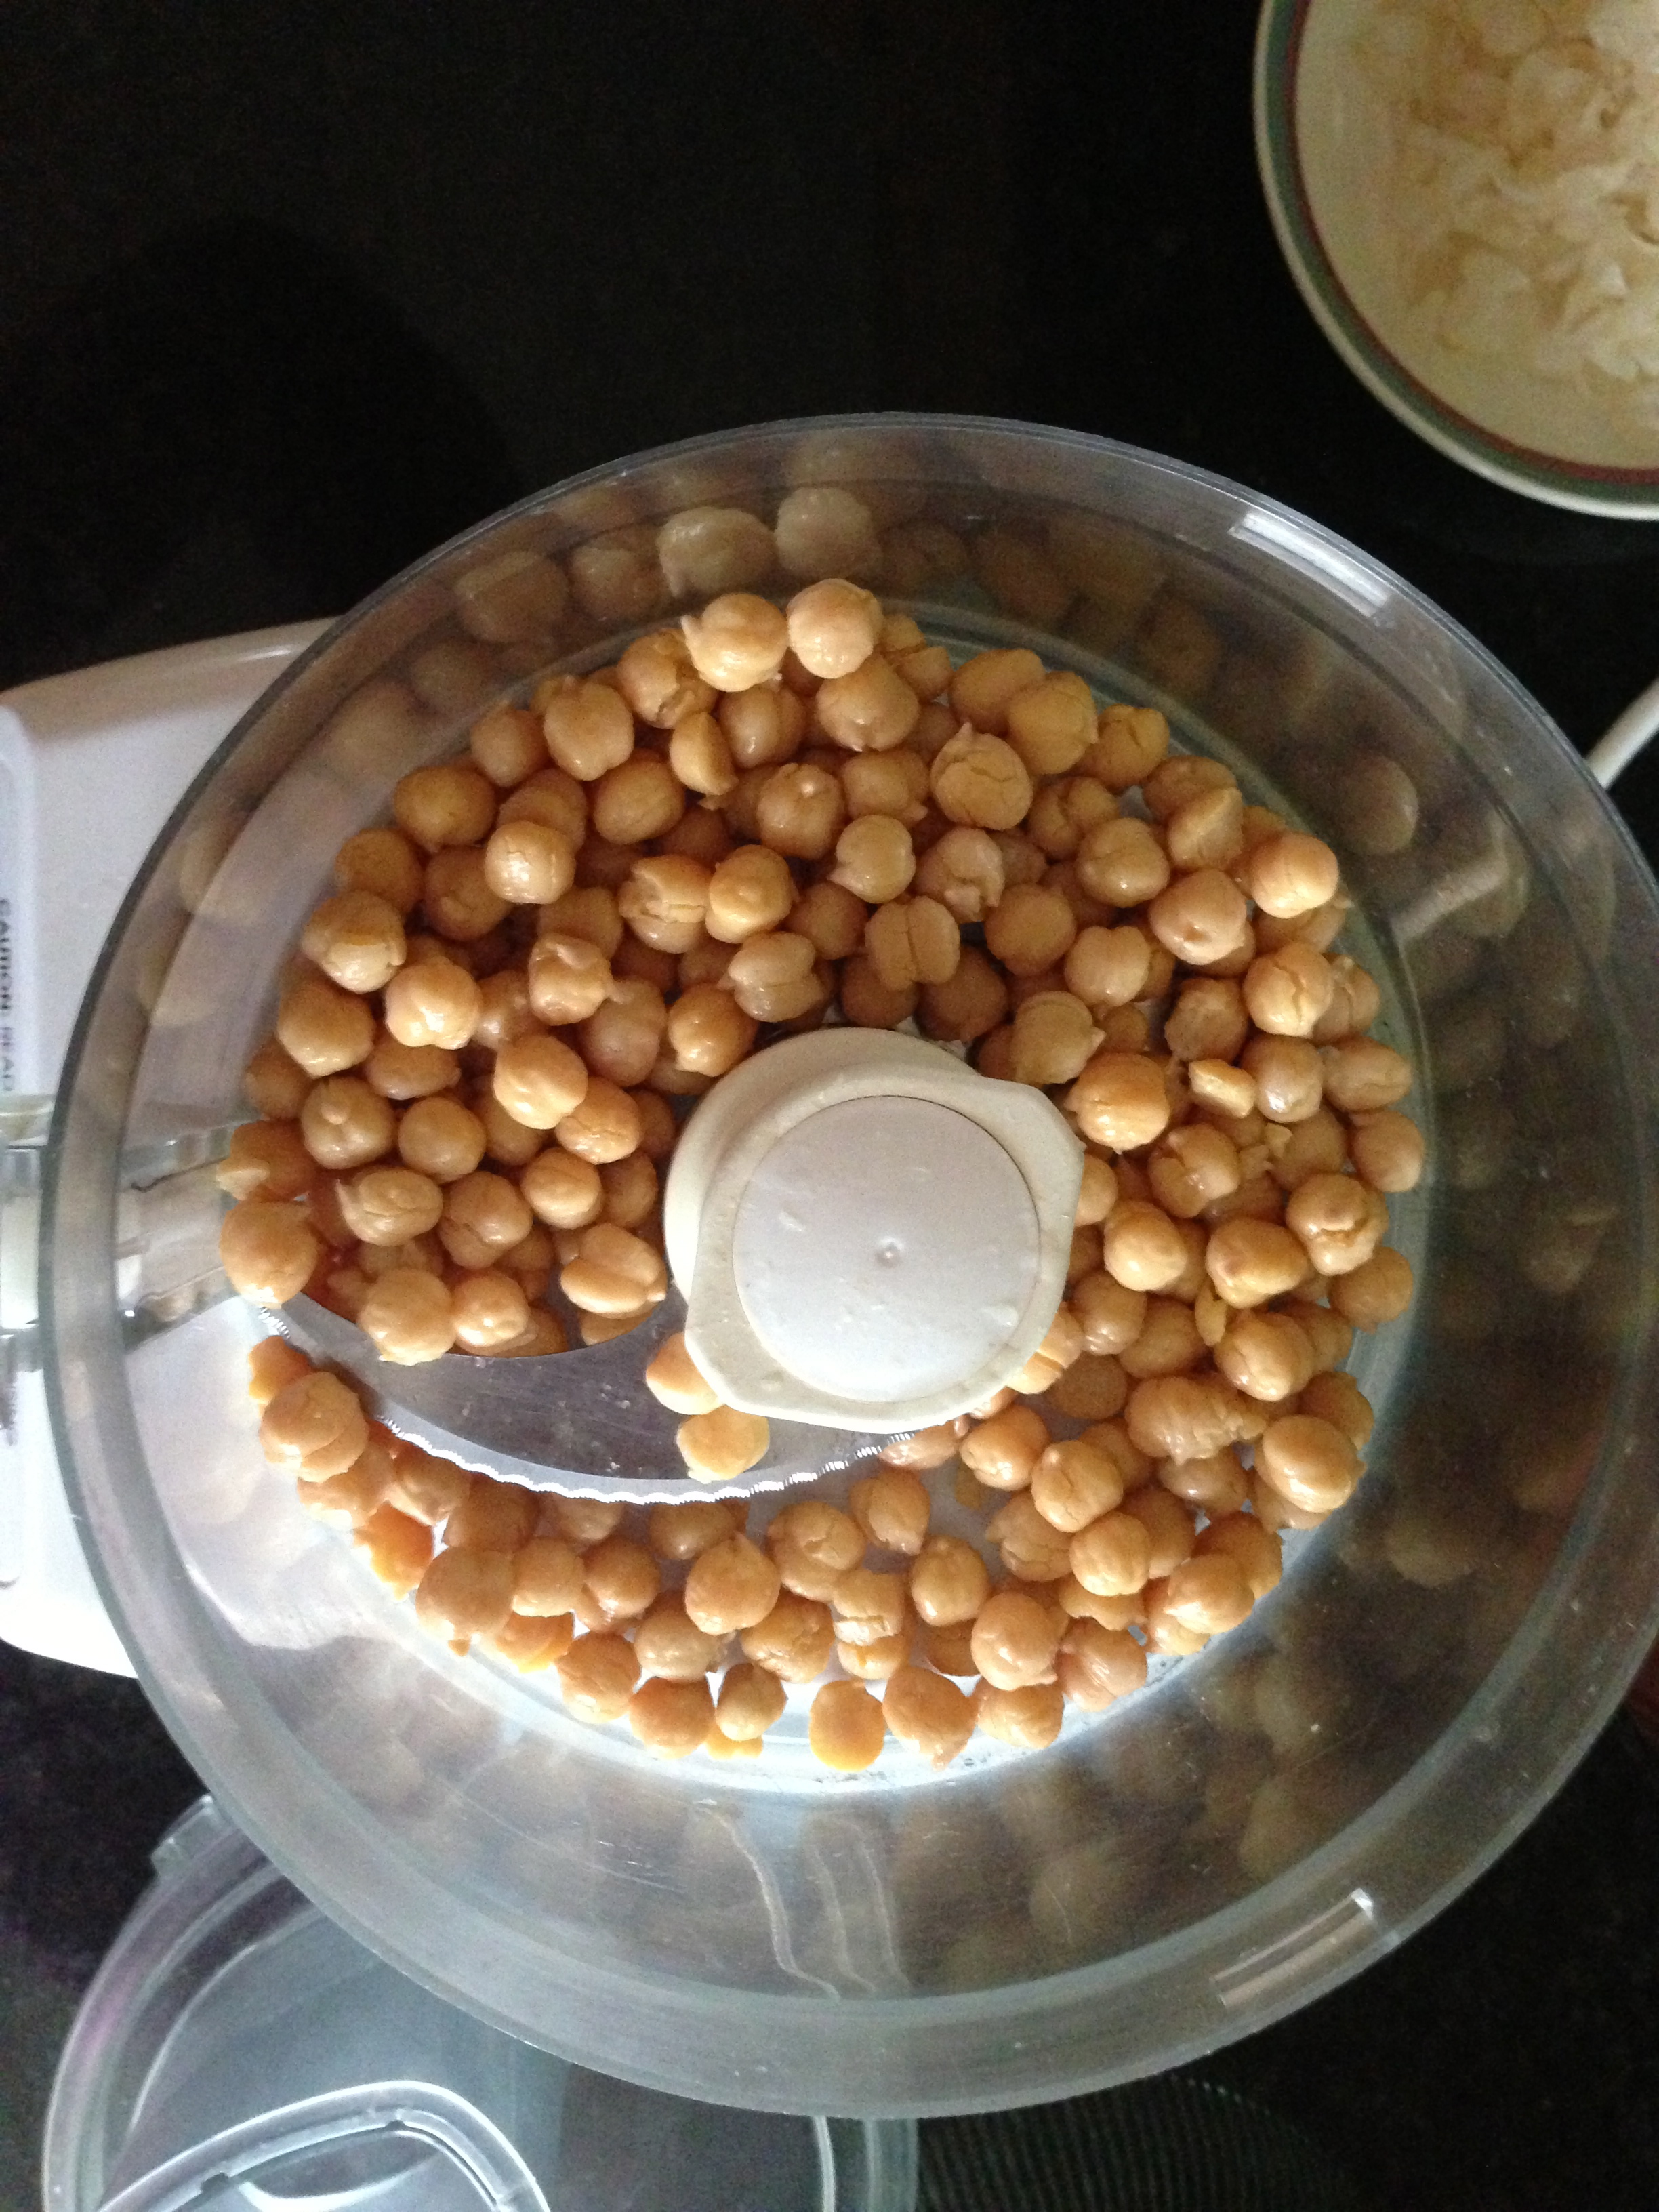
Add the beans, pesto and the salt to a food processor.
Start to process in the food processor adding the water until a smooth paste forms and the mixture loosens up.
Add the olive oil and continue to process until smooth and creamy; approximately 3 minutes.

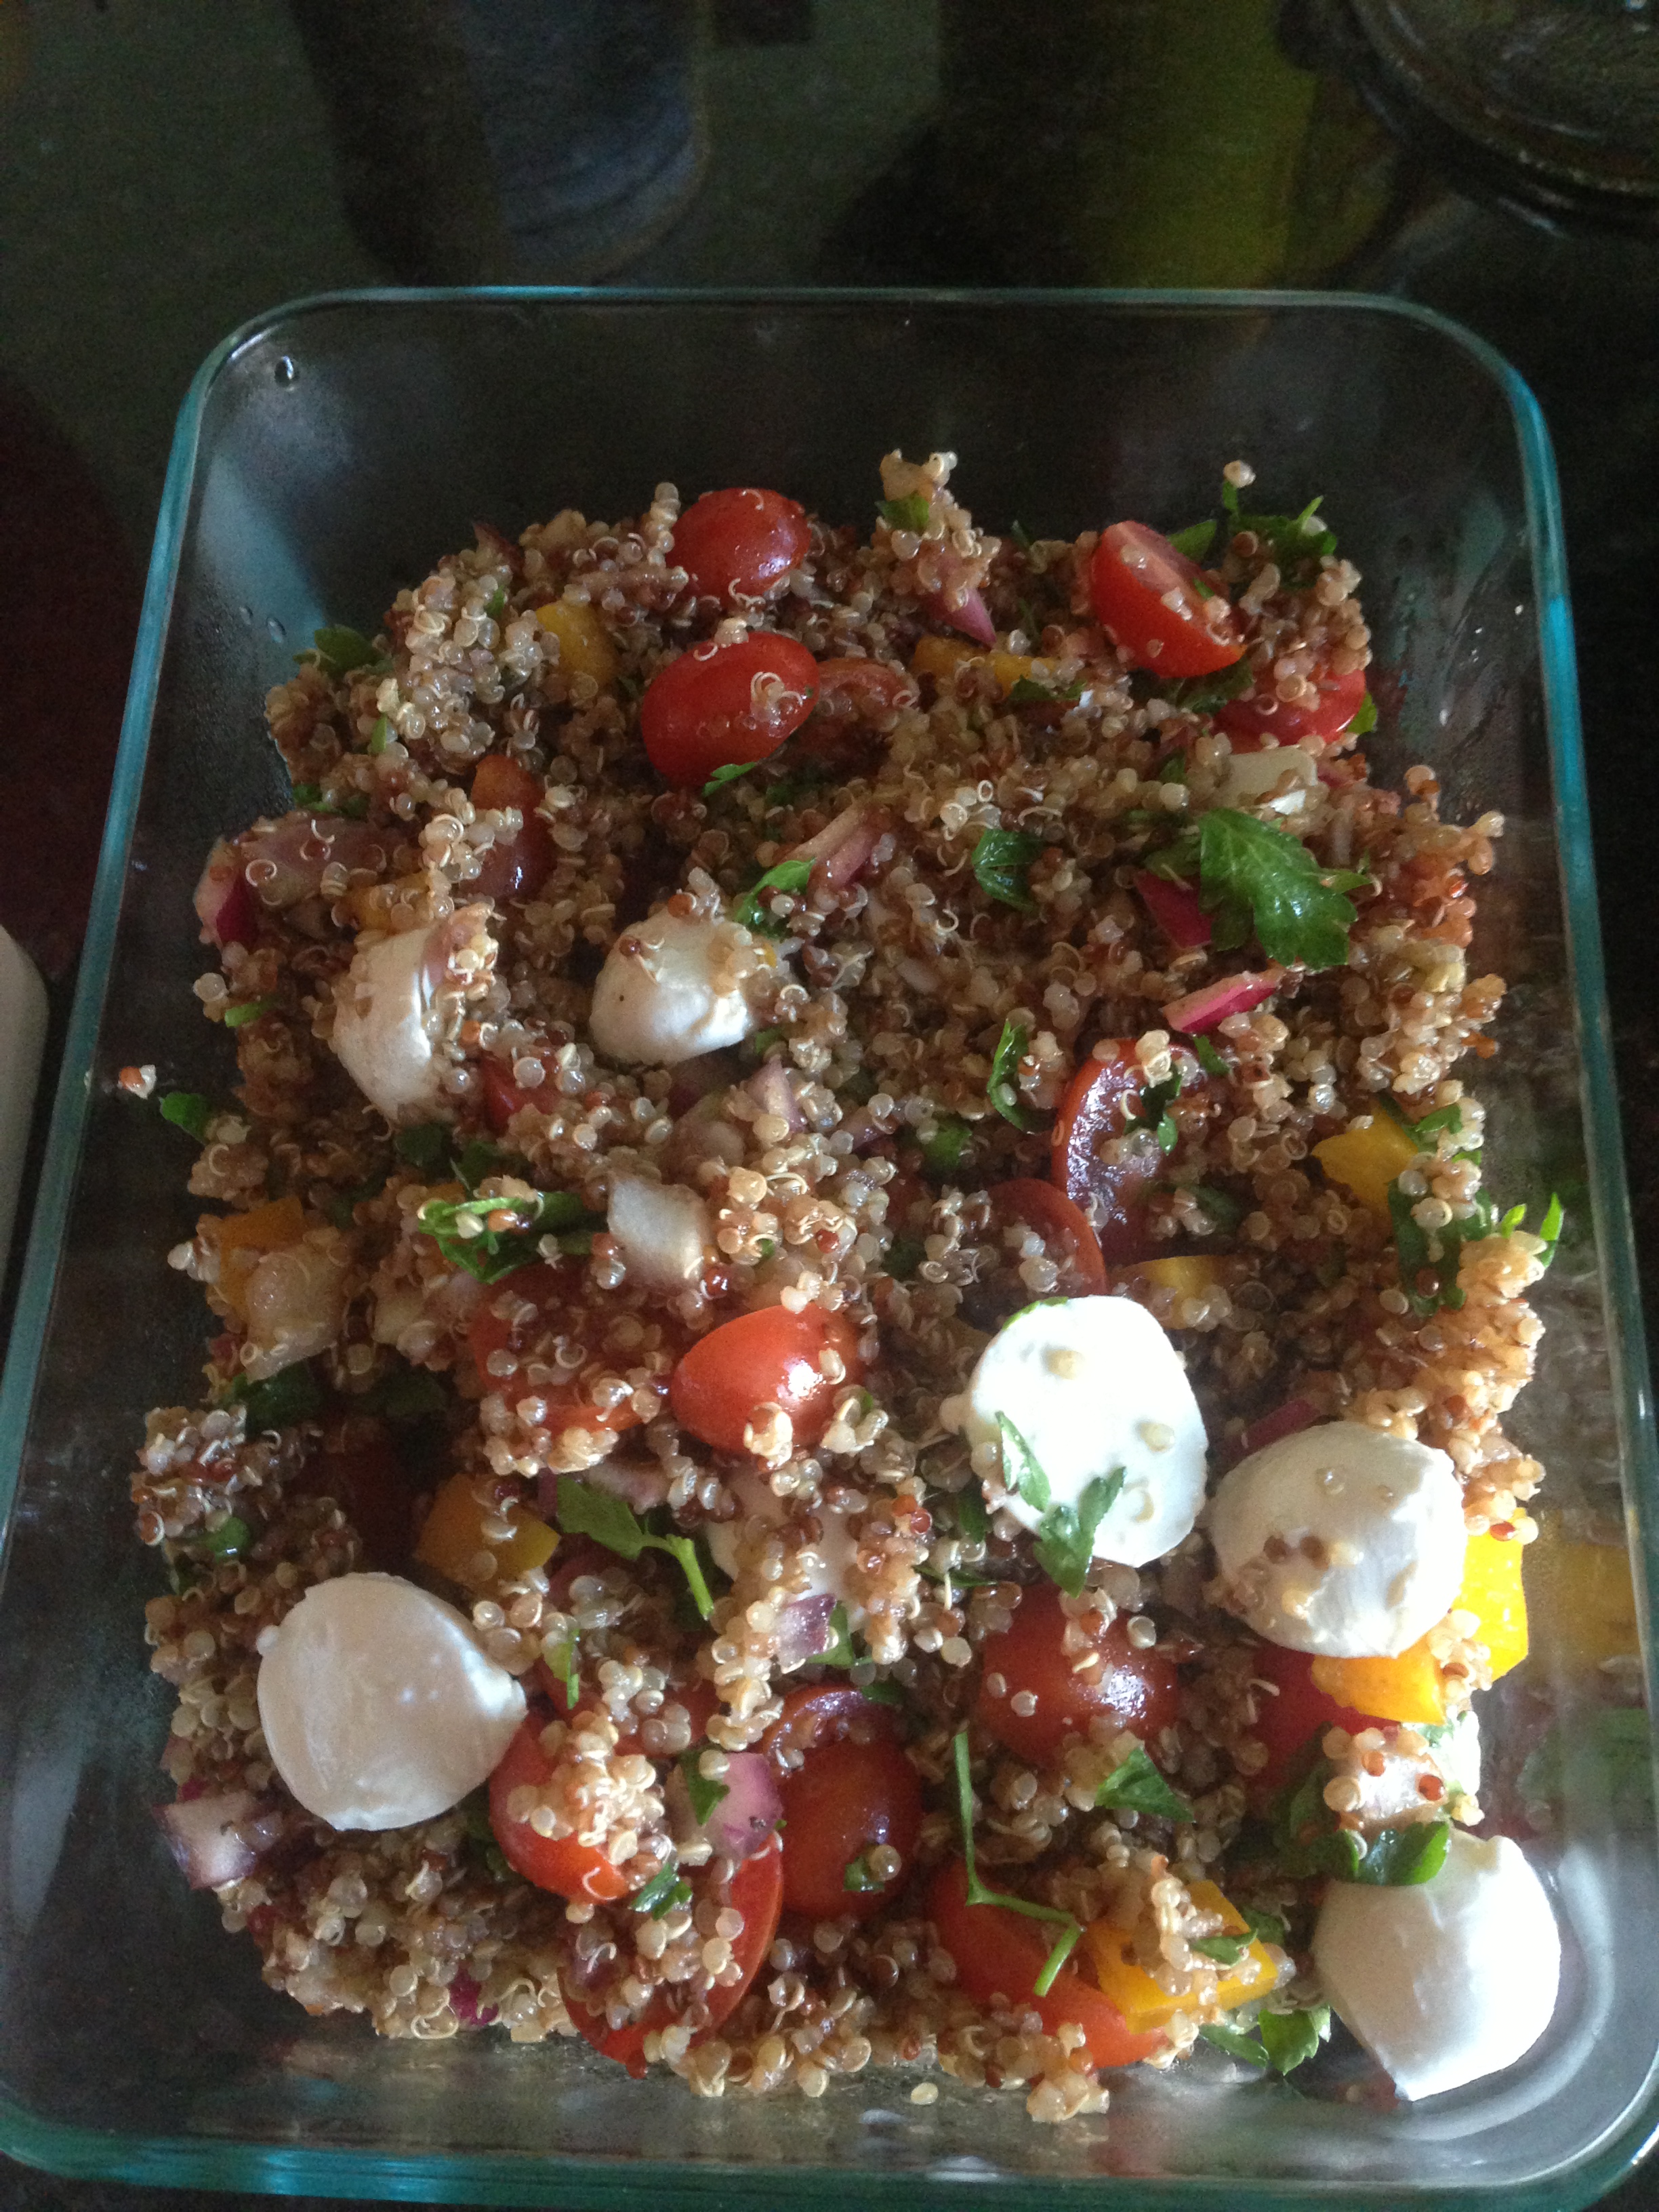
This recipe for Creamy Pesto Dressing is what prompted the rest of my pesto creations this week.
Creamy Pesto Dressing
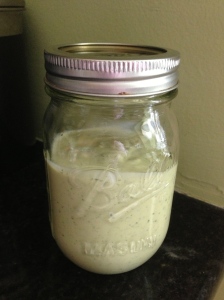
Creamy Pesto Dressing
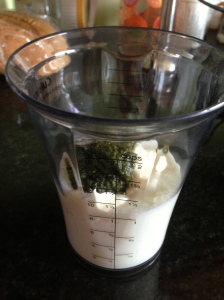
- 2/3 cup buttermilk
- 1/3 cup plain greek yogurt
- 1/3 cup light mayonnaise
- 1 tablespoon Basil Pesto (see recipe above)
- salt to taste
I used my hand blender for this, but it can also be made using a food processor or blender. Add all ingredients to blender and process until well blended.


I plan on using this Creamy Pesto Dressing to dress chicken salad later in the week as well as for use as a salad dressing throughout the week. It’s a great alternative to Caesar dressing and it’s a much lighter version since I replaced the sour cream with fat-free yogurt and used light may instead of the full fat version. The taste does not sacrifice with the lighter substitutions.
Check back later in the week as I will be posting the recipes from the rest of the things on my menu.
Filed under: Recipes | Tagged: beans, blender recipes, chick peas, chobani, clean eating, Garlic, healthy eating, Hummus, low fat foods, nutrition, Olive oil, Parmigiano-Reggiano, Pesto, Recipes, Salad, vegetarian, whole foods | 2 Comments »


.")